When i started out in the hobby many years ago, all i did was read the army codex, read white dwarf, play a few games and paint lots of miniatures! I played fantasy back then and like everyone else i played with both plastic and metal miniatures. Back in does days none told me anything about varnishing your models and chipping was just a normal thing, i did have a army case for them but still chipping did happen anyway. Granted i didn't spend as much time painting my models and i do now, to be honest my miniatures where barely tabletop quality.
Now with the internet information is easy get find on everything and when i started hearing about varnishing miniatures i started a quest on how to varnish my miniatures the best. I didn't want my miniatures paint job to change when i varnished em. The more i read about varnishing, the more horrified i got about stories where varnish went wrong! I spend about 4-10 hours painting on each model and the last thing i wanted was to spoil the miniatures. After many months of looking for a perfect way to varnish, i finally found it!
For does who rather watch a video on how to do it, i also made a video here is
part1 and
part2.
How to varnish your miniatures walk through
What you will need.
1. Games workshop: Ard Coat. (gloss varnish)
2. Water to rinse your brush after using the "Ard Coat".
3. A pallet.
4. Modelmaster dullcoat.
5. Mineral Terpintin(this is the one i used). Both used for thinning down the matt varnish and to clean your brush afterwards.
6. A soft cheap brush.
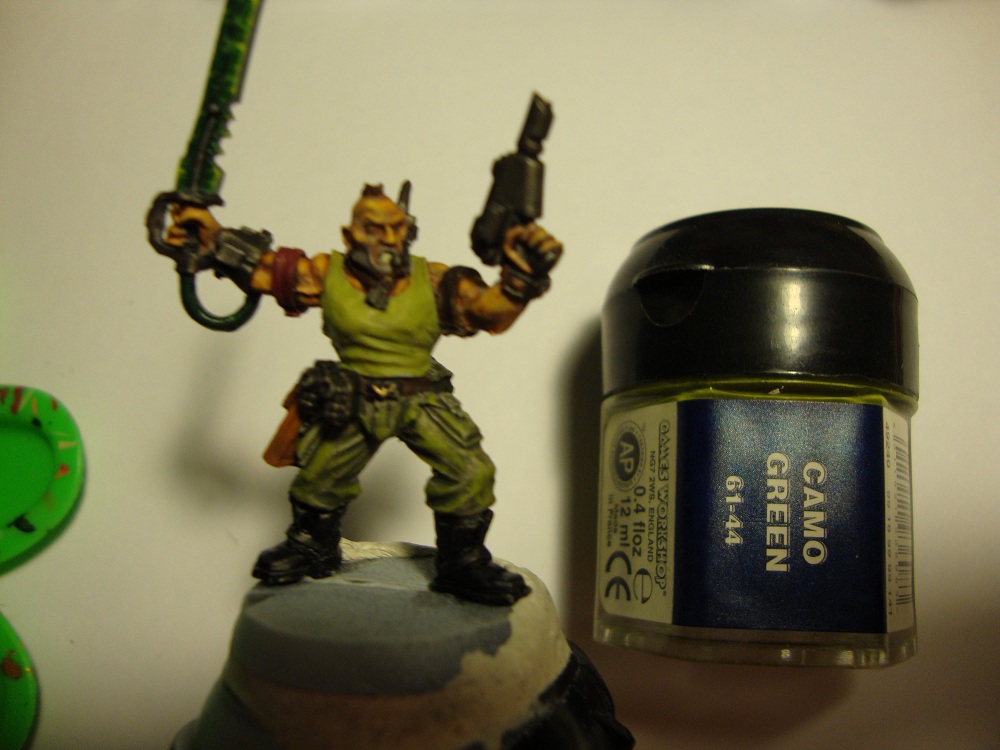
This is how my model looks when its finished painted and ready to get varnished.
Step 1.
You start of with your finished painted model and and you apply the "Ard Coat" straight from the bottle. The only thing you need to be aware of is to smooth out the pools of varnish so its even all over the model. The reason we apply the "Ard Coat" is cause the purpose of of this varnish is to apply a strong thick protective coat on the model, cause its a gloss varnish it will protect the colors when we apply the dullcoat(matt varnish).
Now to be sure that the model finished drying i but leave it for 24 hours. I dunno if you can actually start step 2 before but i don't wanna risk it. Here is what you will end up with after the varnish dries.
Step 2.
Now to apply the "modelmaster dullcoat"(matt varnish). Before you start, shake the bottle a lot for at least 2 minutes, what you want is the varnish to even out in the bottle so the button drop evens out. The varnish needs to look the same in the whole bottle. Before you apply the varnish you need to thin down the varnish. Here is how the terpintin comes into the picture. The dullcoat is a bit to thick and when its to thick it doesn't spread out even and you might make brush strokes in the coat. So to avoid this we will thin down the varnish. What i do is i use the same way i thin down my paints with water. I take some varnish from the bottle on my brush and put it in the pallet, then i take some terpintin and put it on the pallet the same way and mix em. Now to get the right consistence is pretty easy. it should look a bit thicker than average milk. After this you apply it to the model and make sure to cover all the shiny parts you want covered(in my case everything). But if you want something glossy, like a tongue or gems, just don't apply the matt varnish to does places. If you missed some places the first time, just go back and hit it with some more matt varnish until the shine is covered
Heres what you will end up with after the matt varnish dries.
And here is a better picture of the finish varnished model.
If you have any questions just comment and i will get back you you asap.
Ras signing out.